


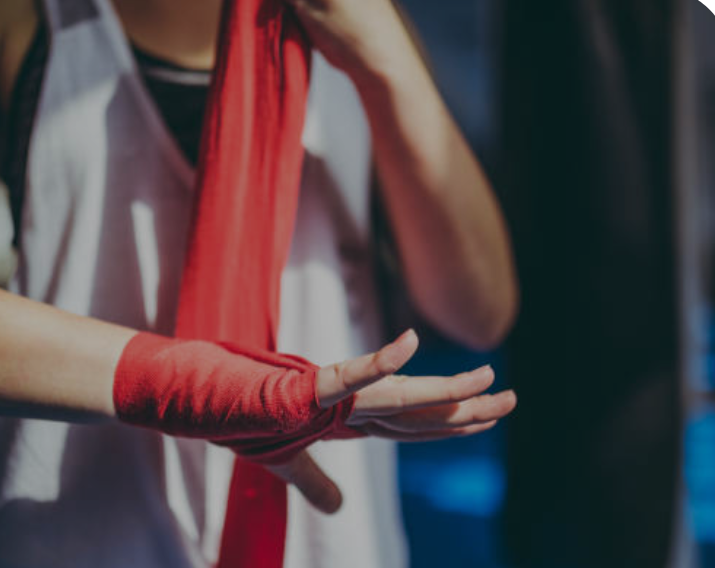
1. Why Wrapping Your Hands Matters in Muay Thai
Learning how to wrap hands for Muay Thai is a key part of protecting yourself in training or fights. Proper hand wraps protect your knuckles, support your wrists, and keep your joints secure. Without wraps, you risk injury—even during light bag work. This guide will walk you through the best technique step by step.
2. Choosing the Right Hand Wraps: Muay Thai Gear Guide
Before you begin, make sure you have the right Muay Thai gear. Standard hand wraps are 180 inches long and made of cotton or semi-elastic material. They should feel snug but flexible. A good Muay Thai gear guide always recommends investing in wraps that are breathable, durable, and easy to wash. Color and brand are up to you—but comfort and support matter most.
3. Step 1: Start with the Loop Around Your Thumb
Your hand wraps will usually have a small loop on one end. Begin by placing the loop around your thumb with the wrap lying across the back of your hand. Make sure the fabric lays flat and tight, but not so tight that it cuts off circulation.

4. Step 2: Wrap Around the Wrist 3–4 Times
This builds a strong foundation. Wrap the fabric around your wrist three to four times to stabilize it. A tight wrist wrap is key for punching power and injury prevention.
5. Step 3: Move Up to the Knuckles
Now take the wrap and bring it up to your knuckles. Circle around the knuckles three times. This protects your knuckles from impact when you strike. Make sure to spread your fingers slightly to avoid wrapping too tightly.
6. Step 4: Lock Down the Thumb
After securing the knuckles, bring the wrap down and loop it around the thumb once. This helps prevent thumb injuries and adds support.
7. Step 5: Create the X Between Fingers
This step is what really locks your hand in place. Weave the wrap between your fingers in an “X” pattern. Go between the pinky and ring finger, then loop around the hand, and repeat between the other fingers. This keeps the wrap from bunching and provides a custom fit.
8. Step 6: Wrap Over the Knuckles Again
Once the fingers are done, wrap over the knuckles once more for extra padding. This also helps keep everything tight and secure.
9. Step 7: Finish at the Wrist
Use the remaining wrap to finish around your wrist. Velcro it tight so the wrap doesn’t come loose during training. Your hand should feel firm, stable, and protected—without being too tight.
10. Final Check: Hand Wrap Fit Test
Try opening and closing your hand. You should feel snug support, but still be able to move freely. If it feels too loose or cuts off circulation, rewrap and adjust.
11. Hand Wraps Tutorial Video (Optional)
For visual learners, watch a short tutorial video. Search “How to wrap hands for Muay Thai” on YouTube to see the full step-by-step process. Seeing it in action can make it easier to follow.
12. Common Mistakes to Avoid When Wrapping Hands
– Don’t wrap too tight—you can cut off blood flow.
– Don’t skip the thumb loop—it protects a vital joint.
– Don’t bunch the fabric—it should lie flat at every step. Fixing these common issues ensures your wraps last longer and your hands stay safe.
13. How Often to Wash and Replace Hand Wraps
Hand wraps absorb a lot of sweat. Wash them after every use to prevent odor and bacteria. If they start to lose stretch or Velcro stops sticking, it’s time to replace them.
14. Bonus Tips: Making Your Wraps Last Longer
– Air dry instead of machine drying.
– Roll them up neatly after use.
– Store in a breathable bag to prevent mildew.
15. Why Hand Wraps Are Essential in Your Muay Thai Gear Kit
Hand wraps are more than an accessory—they’re essential Muay Thai gear. Whether you’re hitting pads or sparring, they protect your most important tools: your hands. Master this simple step, and you’ll train harder, hit stronger, and stay injury-free.